

Posted by happayscrappay (Rachel):
I don't use Pinterest - there I said it, I don't use Pinterest. But, I do create my own mood boards like clothing and other designers do when they go to create genius lines that inspire you to whip out your wallet and buy, buy, buy. Mood boards can also help a designer and a client come together with their ideas.
I use my mood boards to spark creativity within a theme and to help me decide what design elements I would like on a scrapbook page. You can make a mood board, too! All you need is a blank cork board or other surface (like the cardboard inserts that come with your ACOT orders) and a little bit of time.
Pre-planning projects with a mood board can help save you time when you sit down to create.
Here is the corkboard that I use to create my mood boards:

Once you have decided on the surface for your mood board, you can start picking things for it by browsing your favorite websites or magazines and cutting or printing out images that appeal to you. You can add things slowly to it, filling in the spaces and rearranging as you go. Here is the mood board I created for the theme of winter.

I placed the mood board close to my scrapping table so it was close by when I needed inspiration. I fully intended to make some scrapbook pages in this theme but then I ended up focusing on snowmen. On my board I have fabric pieces that were speaking to me of winter and snow or ice skating.
I have pictures of snow flakes, snow, and snowmen. I have pictures of people in sweaters with fair isle prints, and I have lots of 3D pictures. I thought they were really cool and spoke to me of winter.
To incorporate the 3D aspects of my mood board into my projects, I created this mini-album.

I cut sheets of chipboard into 4.25 inch squares. I needed 4 of them for this album. The cover of the album is decorated with cardstock, ink, ribbon, and see-thru embellishments.

Inside the cover we come to the first 3D pop-up page. The sledding child pops away from the background and the snow flake pops open. I created a snowy surface for the chipboard image by gluing some fabric to the patterned paper base.
From the top you can really see how the chipboard pops away from the background:


Turning the page reveals another snowy 3D scene with a child playing under a banner of snowballs.

Obviously, the colors of the mini-album are also inspired by the mood board.

The third page offers a little different take on 3D and looks a little like the snowflake in the pop-up book from the mood board. I used a border punch on a strip of paper and then accordion folded it. I glued the ends of the strip of paper into the corner of the book and attached snowflakes to some of the folds.

The entire album folds flat as can be seen from the bottom in this picture. And, it's tied shut with a ribbon.
The next project that was inspired by the winter mood board is an altered snowman container. I get really sad after the Christmas decorations are gone. Winter has just started and all the fun has been taken down and put away. I wanted something to decorate with that said - Winter is Fun!

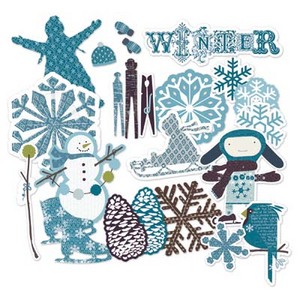
The embellishments from Little Yellow Bicycle's Winter Twig are perfect - with perfect color and the perfect textures. I added some to the hat of my little snowman and decided to stop there. He doesn't really need eyes and a nose does he?

When I was done with the snowman I thought to myself - what's better than one snowman? TWO! And then I spied a mason jar on my shelf. I thought it looked a lot like ice when you look through it. And, the confetti looked like falling snow. So, I made a happy little snowman in a jar who can also sit on a shelf to bring me winter cheer.

With a little cotton stuffed inside for snow, I think this is my favorite piece of the collection. To make it, I used glossy accents to glue strands of the garland to the bottom of the jar. I had to do this one piece at a time and let the glue dry in between.
Then I glued the snowman to the lid of the jar with some cotton and screwed the lid on. If you have an old mason jar (or two, or three!) laying around, I highly recommend giving this a try!
While I didn't get to making any scrapbook pages from my mood board, it is still assembled and I have tons of sledding pictures that need a home. I plan to use it to inspire a few layouts in the future!
I hope you've learned a little about using a mood board and have been inspired to give it a try. While the one here is physical, you certainly could use a computer program to generate a digital mood board. For me that would be a little difficult - I love the fabric samples attached to mine. ;)
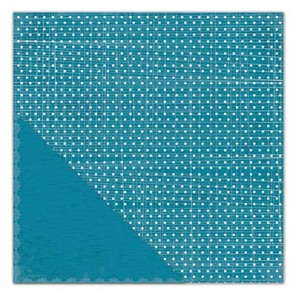
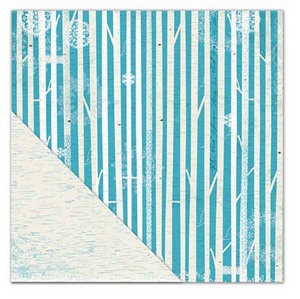
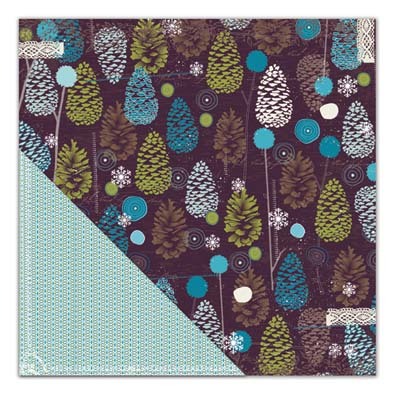
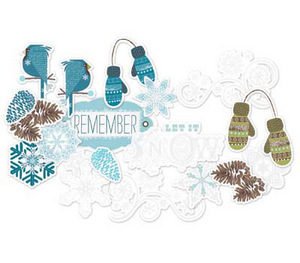
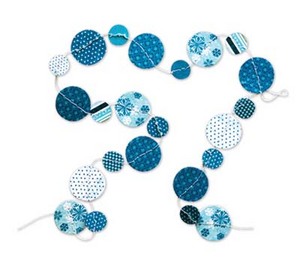
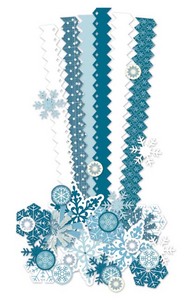
Many thanks to A Cherry On Top for the materials used in making these projects:
I use my mood boards to spark creativity within a theme and to help me decide what design elements I would like on a scrapbook page. You can make a mood board, too! All you need is a blank cork board or other surface (like the cardboard inserts that come with your ACOT orders) and a little bit of time.
Pre-planning projects with a mood board can help save you time when you sit down to create.
Here is the corkboard that I use to create my mood boards:
Once you have decided on the surface for your mood board, you can start picking things for it by browsing your favorite websites or magazines and cutting or printing out images that appeal to you. You can add things slowly to it, filling in the spaces and rearranging as you go. Here is the mood board I created for the theme of winter.
I placed the mood board close to my scrapping table so it was close by when I needed inspiration. I fully intended to make some scrapbook pages in this theme but then I ended up focusing on snowmen. On my board I have fabric pieces that were speaking to me of winter and snow or ice skating.
I have pictures of snow flakes, snow, and snowmen. I have pictures of people in sweaters with fair isle prints, and I have lots of 3D pictures. I thought they were really cool and spoke to me of winter.
To incorporate the 3D aspects of my mood board into my projects, I created this mini-album.
I cut sheets of chipboard into 4.25 inch squares. I needed 4 of them for this album. The cover of the album is decorated with cardstock, ink, ribbon, and see-thru embellishments.
Inside the cover we come to the first 3D pop-up page. The sledding child pops away from the background and the snow flake pops open. I created a snowy surface for the chipboard image by gluing some fabric to the patterned paper base.
From the top you can really see how the chipboard pops away from the background:
Turning the page reveals another snowy 3D scene with a child playing under a banner of snowballs.
Obviously, the colors of the mini-album are also inspired by the mood board.
The third page offers a little different take on 3D and looks a little like the snowflake in the pop-up book from the mood board. I used a border punch on a strip of paper and then accordion folded it. I glued the ends of the strip of paper into the corner of the book and attached snowflakes to some of the folds.
The entire album folds flat as can be seen from the bottom in this picture. And, it's tied shut with a ribbon.
The next project that was inspired by the winter mood board is an altered snowman container. I get really sad after the Christmas decorations are gone. Winter has just started and all the fun has been taken down and put away. I wanted something to decorate with that said - Winter is Fun!
The embellishments from Little Yellow Bicycle's Winter Twig are perfect - with perfect color and the perfect textures. I added some to the hat of my little snowman and decided to stop there. He doesn't really need eyes and a nose does he?
When I was done with the snowman I thought to myself - what's better than one snowman? TWO! And then I spied a mason jar on my shelf. I thought it looked a lot like ice when you look through it. And, the confetti looked like falling snow. So, I made a happy little snowman in a jar who can also sit on a shelf to bring me winter cheer.
With a little cotton stuffed inside for snow, I think this is my favorite piece of the collection. To make it, I used glossy accents to glue strands of the garland to the bottom of the jar. I had to do this one piece at a time and let the glue dry in between.
Then I glued the snowman to the lid of the jar with some cotton and screwed the lid on. If you have an old mason jar (or two, or three!) laying around, I highly recommend giving this a try!
While I didn't get to making any scrapbook pages from my mood board, it is still assembled and I have tons of sledding pictures that need a home. I plan to use it to inspire a few layouts in the future!
I hope you've learned a little about using a mood board and have been inspired to give it a try. While the one here is physical, you certainly could use a computer program to generate a digital mood board. For me that would be a little difficult - I love the fabric samples attached to mine. ;)
Many thanks to A Cherry On Top for the materials used in making these projects:
No comments:
Post a Comment