
Posted by nun69 (Angie):
Step by step instructions to make a Mini Album featuring the Et Cetera Collection by Bo Bunny -

Gather all of your supplies including stuff from your stash such as ribbons, buttons. Wordart, brads, letter stickers, etc

{optional}Ink all the edges of your album

Decide on your photo placement


I decided to “cover” my image that was going to show through on the front cover…so I placed one of the bracketed images from the sheet on the backside of my photo - see the image it makes more sense:


Crop and mat {I also inked the edges of my matted photos} your photos as you go and place them on the page


Then go back and add any embellishments you like…all of the pieces that I could ink/distress I did :)..I also pop dotted embellishments here and there throughout the book.
Anything that I wanted to journal on I did as I went along as well…and as you can see I LOVE adding me some flowers to anything I do:


And really you just put it all together with the rings and are done…I opted NOT to add ribbon to my rings, because my album was kinda “fat” since I added a lot of 3D elements to it, but you don’t have to pop dot anything and can then add ribbon to the rings.
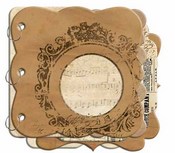
Front of my album :)

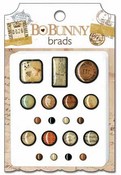

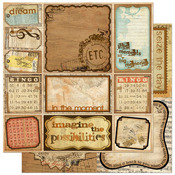

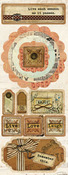
Gather all of your supplies including stuff from your stash such as ribbons, buttons. Wordart, brads, letter stickers, etc
{optional}Ink all the edges of your album
Decide on your photo placement
I decided to “cover” my image that was going to show through on the front cover…so I placed one of the bracketed images from the sheet on the backside of my photo - see the image it makes more sense:
Crop and mat {I also inked the edges of my matted photos} your photos as you go and place them on the page
Then go back and add any embellishments you like…all of the pieces that I could ink/distress I did :)..I also pop dotted embellishments here and there throughout the book.
Anything that I wanted to journal on I did as I went along as well…and as you can see I LOVE adding me some flowers to anything I do:
And really you just put it all together with the rings and are done…I opted NOT to add ribbon to my rings, because my album was kinda “fat” since I added a lot of 3D elements to it, but you don’t have to pop dot anything and can then add ribbon to the rings.
Products Used:
No comments:
Post a Comment