Thursday, July 14, 2011

Digital Scrapbooking With Kollage By Kay -

Posted by Janell:

Our inspiration this week comes to you by the lovely and talented Kay Eflin, creator of "Kollage by Kay".  A Collage ~ is an artistic composition of materials and objects pasted over a surface, from French word for gluing.  At Kollage by Kay, Kay can help your scrapping be both artistic and memorable.  If you like layering and lots of elements, Kollage by Kay are the designs for you to preserve those precious memories


Even with a newborn, Ronny found time to scrap this beautiful layout using some fabulous pictures from her family's Fourth of July Celebration.  This next layout is one of our FAVORITES featuring Ronny's precious little one:


Angie said, "When planning on featuring Kollage By Kay I saw her 4th of July Quick Pages and coordinating Fourth of July kit. I knew it would be perfect for our 4th pics! I used her Quick page as a starting point and then I built on top of it! So, don't be afraid to use a Quick-page, they are super easy and can give you a great headstart!"


Janell said "It was really fun to use Kay's altered journal pages for my visit to the Statue of Liberty. I was able to blend in my own photo with her watercolor pages to make a custom looking paper that was just what I was looking for!"


Laura adds, "Kollage by Kay has a gorgeous line of Altered Art Journal Papers that are wonderful for everything from backgrounds to journal blocks."

This next layout by Laura makes me want to go swim with that Polar Bear!  Laura your layout is "hot" and we love the animal stickers and awesome layering.


Laura is a fan of Kollage by Kay and admits, "Kay has been one of my favorite designers for a long time, now, because of her unique embellishments and her wide variety of kits."


Janell exclaims, "Spotlighting the creations of "Kollage by Kay" this week. I love this cluster frame that she created, it's rich and beautiful and easy to make a great layout especially when combined with her rich autumn paper pack." 


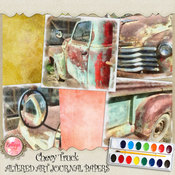
Janell created this layout using Kay's Altered Chevy Truck Journal papers.
 

You can view the wonderful products by Kollage by Kay used in this reveal here:


Wednesday, July 13, 2011

Paper Crafting With The Oxford Collection By Basic Grey

Posted by ScrapGoo (Jess):

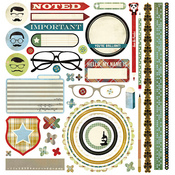
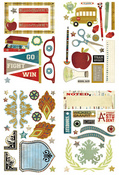
When it comes to patterns Basic Grey is top of the class! Their new collection, Oxford, is straight from the pages of a college yearbook with plaids and sophisticated yet masculine prints that have a touch of yesteryear combined with typical Basic Grey whimsy.  Naturally, the collection is full of fun embellishments made of everything from chipboard to brads to stickers and they will definitely make you smile!  

How can you not love the old school glasses and all the great academic icons?  This collection definitely has a lot going on!  There are patterns galore and a lot of different colors.  It can be intimidating to work with all that but not if you remember that you don't need to use *everything* on one page.  Simple is good and a little goes a long way.  

Take a look at what I created with Oxford-hopefully I make the grade!

The Apple of His Eye


I decided to pick out just a few colors for this layout.  The reds and blacks worked well with my photo and allowed me to not be overwhelmed by all the pattern options.  My title was inspired by the cute apple chipboard!  I tried to keep the design clean and easy on the eye by matting most of the main area with the cream lined paper.  It draws the eye in and unifies the rest of the elements.

Sleep Cheeks


I went in the opposite color direction with this scrapbooking page.  Again, I drew the cues from my photos and chose blues for this layout.  A PageMaps sketch made this page come together quickly.  Although the prints of Oxford are sophisticated they can still be great for the little guys too!  I used the chipboard stars to bring some youth to this page. 

Smart: It's in the Genes


This is Oxford in all its glory!  I used an old college photo of my dad here.  He is a smart cookie!  And I have to thank him for passing on his smarts to yours truly.  ;-)  I really fell in love with the chipboard elements in this collection; the science stuff, books, writing instruments, and of course the glasses!  (I can assure you that boys DO make passes at girls who wear glasses!) I just layered the crud out of this page- fun!

Oxford Congrats


This cute dotted paper is one of the more fun papers in this line and probably my favorite, of course I needed to make a little card with it!  This would be a great graduation card but I think it could be given to a guy for nearly any important achievement.  I used several layers of journaling bits and chipboard here to build up a mat for the sentiment.  And some natural twine is a great masculine embellishment!

You Da Man


Okay, okay... I could NOT let this article end without using these AWESOME moustache stickers!  Moustache images are pretty trendy right now and these make me giggle!  Again, around here I can never have too many guy cards so this will definitely come in handy.  I think this simple card will bring a smile to the receiver. 

So, you can see how many different sides this collection has.  It is both serious and silly.  I hope you take a trip to Oxford like I have... only THIS Oxford won't involve pop quizzes or crotchety professors! :-P

I used the following products on these projects:


Tuesday, July 12, 2011

Paper Crafting With Echo Park Paper's Country Drive

Posted by SarahA (Sarah):


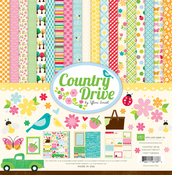
When I saw the sneak peeks from Echo Park of the Country Drive line, I was SO excited! I was waiting and waiting and impatiently waiting some more for this to show up in the shoppe. I knew these colors and the patterns would be just perfect for some sort of wall hanging I wanted to make for my daughter's room. 

You should have seen me when I got my order home! I had it all spread out around me on the living room floor, smiling like a big dork. Or maybe just like a happy scrapbooker. :)

Printer's Tray Wall Hanging

The first project I did was the wall hanging I had planned on making. I made 6 different 4x6 pieces and fit them in each slot of a printer's tray. This was really a fun project to work on because it was all about embellishment and details. I made good use of the papers, journaling cards and stickers from the sticker sheet on this one.  

The Doodlebug Nifty Notions buttons matched this line perfectly, so I used a lot of those, too.  The multitude of cute patterns and stickers in this line made so many possibilities with this project- flowers, bees, butterflies, hearts and ladybugs galore!  I also loved the little phrase stickers on the alpha and sticker sheets.

Each of these blocks could easily be adapted to be a greeting card or a page embellishment. Clicking on the photo will take you to my gallery where there is a close up of each block.


Hey Little Guy...

I've really been liking the 8.5"x11" size lately just for something different. I find it's a great way to showcase a single photo, just like I did here where I really wanted the photo to be the main focus. I used the bee strip from the strips paper as a divider, then used one of the cute cards for my journaling. I tried to keep the page "boy-ish" by using scrapbooking papers with neutral patterns in yellow, blue and orange.  I can't get enough of the great Doodlebug buttons, so I had to add some of those, too.

I've Been Waiting

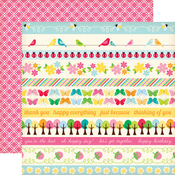
I couldn't have this line and not do a page on the joys of country living! These colors really go well with any background, especially a neutral kraft. I layered several strips and put my photos on top. Some of the small alphas on the alpha sheet worked great for my long title and some of the smaller stickers were great embellishments.

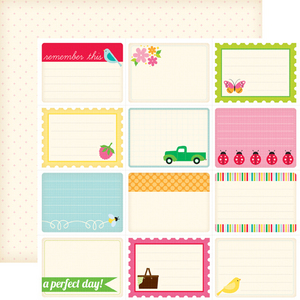
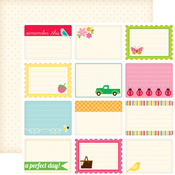
A few other notes about this line: I really like the matching solid papers. They are double sided and have a slight cross hatch pattern and are perfect to use in place of cardstock! I also think the journaling cards are SUPER cute! I love them. I actually love them so much, I got 3 sheets! Don't you think they'd be perfect as a base for little cards?


Products used in this reveal:


Monday, July 11, 2011

It's Sew Easy Part 2! Paper Crafting With The SewEasy Stitch Piercer

 Posted by happayscrappay (Rachel):


I'm back today to bring you Part 2 of my two part reveal using the Sew Easy Tool from We R Memory Keepers.  In today's reveal, I'll show you some more advanced ways of using the Sew Easy tool.  

If you are ready to go beyond just stitching on your page into something a little more creatively challenging, then give these techniques a try!


First up, I'd like to show you "Mother's Day".  This layout uses multiple stitch heads, curved stitch design, fill-in color by masking, multiple colors of floss, added embellishments, and layers of stitching. 


There is a stitched border around this page that was made using the straight stitch head that comes with the Sew Easy tool.  The border was stitched using My Mind's Eye Twine.  The more detailed stitching takes place in the upper right corner as seen in the image below:


To create this look, I used the banner stitch head to make a slightly curved stitch pattern across the corner of the page.  I did not want it to go from corner to corner because I planned on joining it with the straight stitch border.  Like before, when I used the misting in Part 1, I created a mask using a scrap piece of paper and then cut the paper away between the puncture points for the two banner shapes.  

I used my mask to ink in the spaces where the individual pennants would be for the banner design.  I then wrote my letters onto the pennants.  I stitched around the pennants with embroidery floss that matched the embellishments on my page.  I then tore away the paper above the banner and added some detail stitching.  

Notice that the twine coming off the top wooden clothespin is sewn under the "l" pennant of the banner.  I lifted the darker floss and sewed the twine under it in two spots to give the banner added dimension.  I left the twine hanging loose on the page much like a rope holding up a banner would.


Secondly, I'd like to share with you "Camped Out", which has a photo matted with stitches and then framed:


At first glance, creating a frame around a photo may not seem all that complicated, however, the smocking piercer is not square (the holes are further apart in width than in height) and maintaining a straight line can be challenging.  To create the proper dimensions for the frame, I placed my photo in the center of a piece of plain colored patterned paper.  

I held my ruler over the picture and ran the Sew Easy tool along side the ruler on each side.  Before starting a new side, I lined up the holes on the piercing tool to match as closely as possible with where the holes were from the previous side.  The holes will not line up perfectly but create an interesting pattern at the corners if you follow the stitch pattern correctly.

Tips:
  • Do not throw out the card that comes with the packaging for the stitch heads.  The contain valuable advice for the order that you should sew your stitches.  I did notice that there is incorrect information on the smocking packaging, but it is good enough to get you started.  
  • If your pierced holes show up where you didn't exactly intend for them to, turn the paper over and gently push it back into place from the back side.  The holes will barely be visible from the front of the page.  In some cases, the may be obscured by the floss used to stitch!
 

Finally, I'd like to share with you a card that uses circular stitching and multiple stitch heads:


The Sew Easy stitch heads are easiest to use in straight lines, but it is possible to create circular shapes with a little practice.  To create the effect of the orange stitches made with the scalloped piercing head on the card above, I used my circle cutter as a guide the same way that I have used my ruler in the past.  

If you do not have a circle cutter, you can use any raised circular guide such as a coaster or a plate.  I don't know how well this would work with something like a cup.  I also recommend trying this out on scrap paper first.  It took me three tries before I had the size circle I wanted and the right way to position my arms to get around the circle without having to switch hands.  

It took a little bit of acrobatics to get my idea to work but as you can see, it is possible.  And, if you accidently get off track, remember the tip above - flip the paper over and push the puncture points back through. 

The above card also uses the lazy daisy piercing head to create the center of the flower. I only used one repeat of the design and lined up the piercing points with the petals on the flower.  The stitch instructions on the back of the package recommend using a French knot in the center of the lazy daisy, I used a button and bling instead. 

Tip: Although I did not need to do this on the card above, you can also conceal stitches that don't match up perfectly with embellishments. 

I do have many more ideas for using the Sew Easy tools with my future pages.  I'm sad to say that I just ran out of time to create more pages showcasing my ideas for you with this reveal article.  I hope these ideas will keep you busy for awhile with your Sew Easy Tool.  

Many thanks to A Cherry On Top for supporting the creation of these projects and good luck to you on your next Sew Easy project!
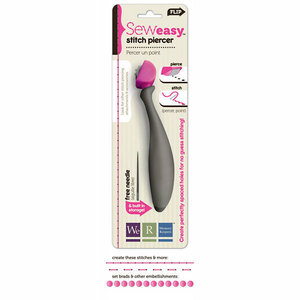
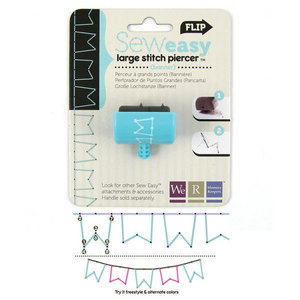
Sew Easy items used in this reveal: