Showing posts with label travelogue. Show all posts

Friday, September 7, 2012

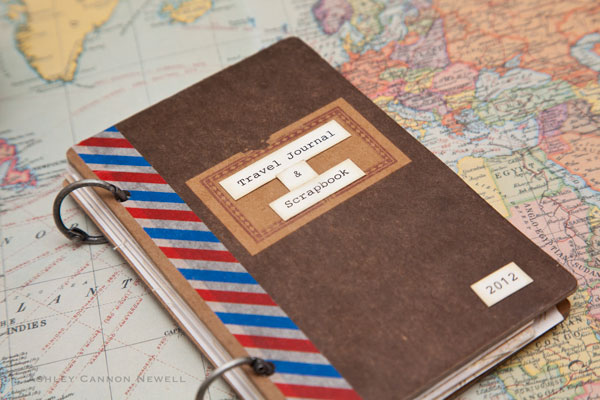
How To Make A Scrapbook Travel Journal


Just because Summer is over doesn't mean you have to stop traveling!  Many of us choose long weekends in the Fall to recoup at the Lake, visit farmer's markets or hop in the car to chase the sun!

In this week's tutorial, Ashley gives us the 'how-to' of making your own personalized (and incredibly handy) travel journal and scrapbook.
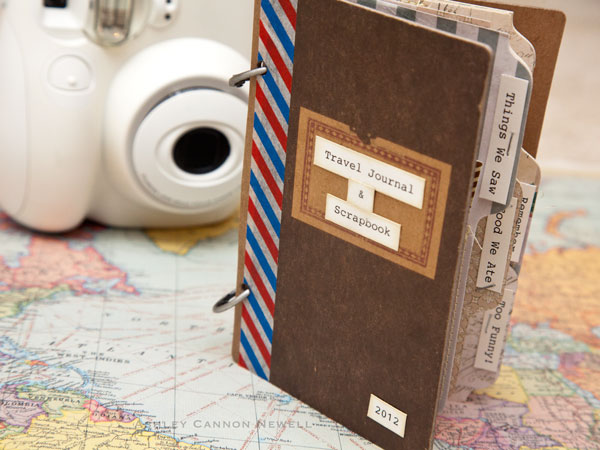


For the cover, Ashley keeps it simple to ensure the journal will withstand duffle bag or luggage treatment.  You can decide to get a little more extravagant once you've tucked everything into the journal and the trip falls under the 'great memory' category.  
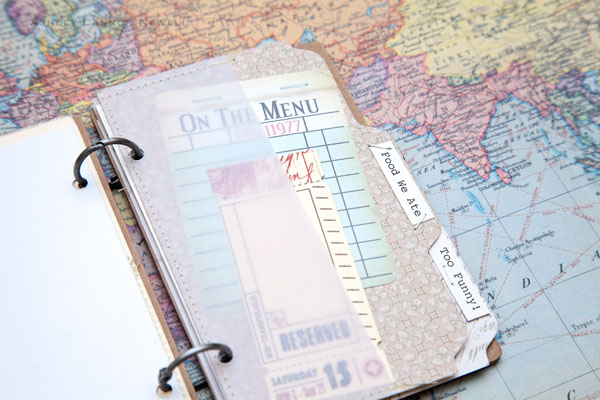


Travel journals make it convenient to quickly record moments you don't want to forget.  Jot down a quick story about something funny that happened.  Save tickets to that amusement park you stumbled upon.  Or, tuck in that mini take-out menu of the restaurant that served the best (or worst) pie ever!
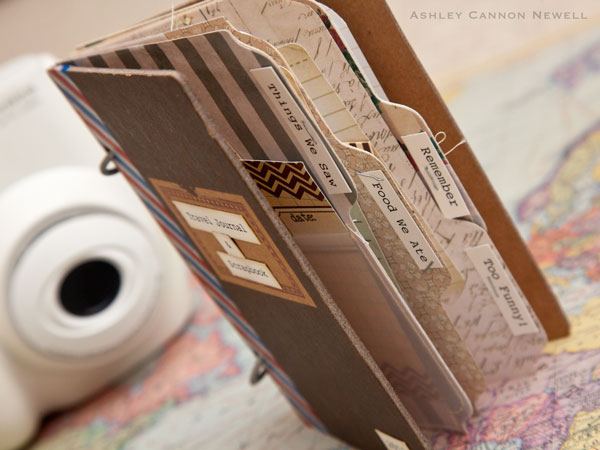


Don't forget to pack along adhesive, a great journaling pen and an instant camera!  There's nothing like capturing the memories as they happen.  You'll be thrilled you did!

To view the complete tutorial at A Cherry On Top, click HERE - 


Recommended items to get your journal started:

chipboard journalwashi tapevellum paper
7 gypsies trousseau


Ashley has a passion for paper crafting, photography, fashion and trying new recipes in the kitchen. She started my first scrapbook in high school long before any industry focused products were available. She started blogging in 2008 after discovering the paper crafting online world. When Ashley is not in the studio, you can find her  photographing a wedding, surfing the Internet, or watching a Lifetime movie. 


Tuesday, February 7, 2012

How To Add Stitching To Your Paper Crafting Project

Posted by megamay (Megan):


This month I decided to show you some tips on adding stitching to your paper crafted projects. I seem to add sewing to just about every layout and card that I make. Most of the time I use machine stitching because it's fast, easy and I like the texture that it adds. 


There are other options though - hand and faux. If you are interested in hand sewing, Rachel wrote two articles on using the 'Sew Easy' tool to help with hand sewing. 


Below is an example that I created for hand sewing without using the sew easy tool. This technique is best for odd shapes, like the sun I created on this card:


I drew the sun in the corner of this card with pencil. Then I used my paper piercer to make the holes, before erasing the pencil lines. Then I hand stitched using the holes I just created.


I also used some faux stitching on this card. I just used a brown pen to draw the 'stitches' around the border of the card and of the sand dune. There is another We R Memory keepers product that can help with faux stitching - the sew stamper. 


 It is a rolling stamp pad, just like the sew easy, but with ink instead of piercing. Be sure to check that out if you prefer faux stitching for a super quick easy way to add another layer to your projects.


Like I mentioned before though, my preferred method is machine sewing. Here is a card that I created with machine sewing.


sewing on cards


I know a lot of people are intimidated my machine sewing, so I created this video tutorial to show you some tips to make it more effective. As I mention in the video, in my opinion, the hardest part is threading the machine. So, don't get discouraged if you are having trouble right up front. 


Look in your manual or if you dont have a manual look around online for instructions for threading your machine. It's important to do it correctly so the thread doesn't get all bunched up. After you have done that - machine sewing on paper is easy as pie!


Products used in this reveal: